
Decal Packs
League Decal Packs
The following decal packs are provided for use during all NARL racing to identify your car’s class (Amateur, Pro-Amateur or Pro). This includes both League and Special Event races.
Each zip file contains a PNG that may be used directly on your livery and a TGA file for use with Trading Paints’ decal stamping feature.
Decal packs have been provided by Tam Liveries.
Note: There is a championship deduction of five points for not running the decal pack during broadcast sessions.
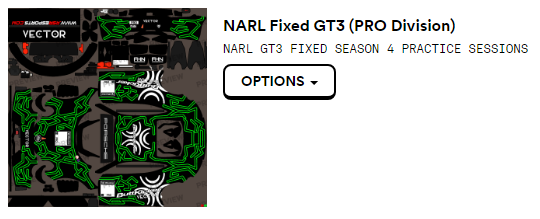
GT3 Decal Packs (UPDATED JUNE 2024!)
| Car | Decal Pack |
|---|---|
|
Audi R8 LMS Evo II GT3 |
|
|
BMW M4 GT3 |
|
|
Ferrari 296 GT3 |
|
|
Ford Mustang GT3 |
|
|
Lamborghini Huracán GT3 EVO |
|
|
McLaren MP4-12C |
|
|
Mercedes AMG GT3 |
|
|
Porsche 911 GT3 R |
|
|
Chevrolet Corvette GT3 |
Porsche 992 GT3 Cup Decal Packs
| Division | Link |
|---|---|
|
Porsche Cup Pro |
|
|
Porsche Cup Pro-Amateur |
|
|
Porsche Cup Amateur |
USING OUR DECAL PACKS
Each decal pack comes with two files per car, per division. The included TGA file may be used with Trading Paints’ Decal Layer feature, available currently to those with Pro memberships. The PNG may be used by painters to add the decal directly to the paint file.
If you need further assistance, please do not hesitate to ask a question on the NARL Discord.
Trading Paints PRO
The following instructions will help guide you through the process of setting up our decal layer on Trading Paints. Please note this is only available to members with a Pro account.
Important: Trading Paints will only detect your leagues after you have joined a session in that league and typically requires 24 hours to synchronize correctly. For NARL, this means that the League Paint area will only be useable after the first race. We recommend using the standard paint area for the first race.
Standard Paint - Decal Layer
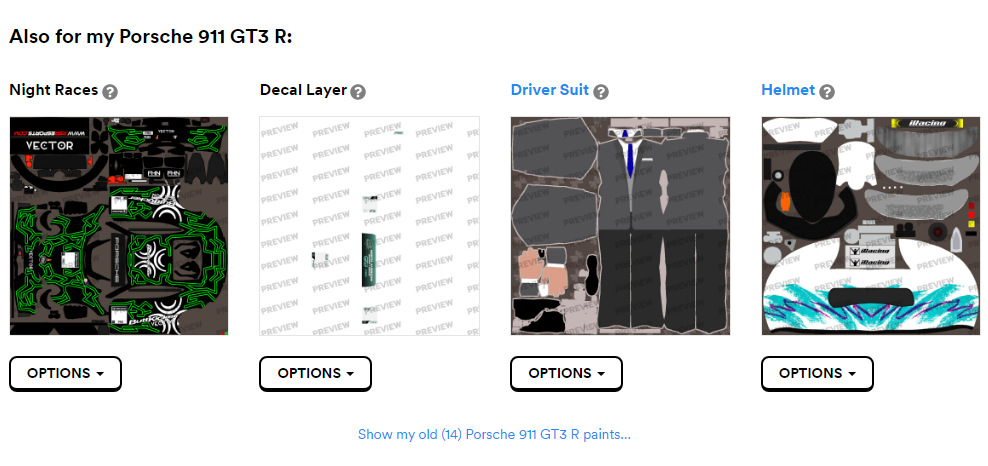
On the Trading Paints website, go to My Paints and find the car you are going to race. Ensure the car has the correct paint at the top. Below the paint area should be a section labelled “Also for my <CAR>”. The second option in this section allows you to upload a Decal Layer.
Underneath the Decal Layer select Options and then Upload Decal Layer. Select the appropriate TGA for your car & division. You should now see the NARL Decal Layer.
LEAGUE PAINT - Decal Layer
Once the league has been synchronized to Trading Paints, you are able to upload a custom paint and decal layer for that league. This is located below the paint options previously discussed. Find the appropriate league and select Options and upload/choose both your paint and decal layer.
Note that if you are required to upload the paint file again, you will also want to upload the spec map as well.
Even though the decal layer will not show on the website, a refresh in a league session should load the decal layer correctly.
Manual Paint - PHOTOSHOP / GIMP
Paints for iRacing are split into a few different files. The color is provided by a 24-bit TGA file and the spec map is exported as a 24-bit TGA file and turned into a MIP file. For the purposes of this guide, we are only concerned with the TGA file providing the color – though you may wish to customize the spec map based on the NARL decals.
This guide will show screenshots in Photoshop but everything should apply to other editors, including Gimp.
Begin by opening the paint TGA (or original paint fiile) in Photoshop.
Open a Windows Explorer window and navigate to the decal layer; we’ll be using the PNG file.
Click and drag the PNG file on top of the paint – in Photoshop, this will begin the process of placing the file inside of the paint file. It should place it in the center and, because the sizes match, should fill the entire paint. See the screenshot below to see how the borders match that of the paint. Press ‘ENTER’ to place the file. You may now save the file (as a 24-bit TGA) and upload to Trading Paints.
